Installing a One-Piece Toilet might sound like a daunting task reserved for seasoned plumbers or DIY enthusiasts with superhero skills, but fear not!
With the right tools and a can-do attitude, you’ll soon discover that you can tackle this job yourself without turning your bathroom into a water park.
This step-by-step guide will walk you through the process of unboxing your shiny new porcelain throne and giving it the inaugural flush.
So roll up your sleeves, grab your trusty wrench, and let’s transform your bathroom into the palace it was always meant to be—one piece at a time!
Preparation and Tools Required
Before installing a one-piece toilet, make sure you have the right tools and that the space is ready. Proper measurements and correct materials are key factors to consider.
Gathering Tools and Materials
The first step is to gather all the necessary tools and materials. This includes a utility knife and putty knife for cutting and removing the old seal. You also need a bucket and rag to clean the base area.
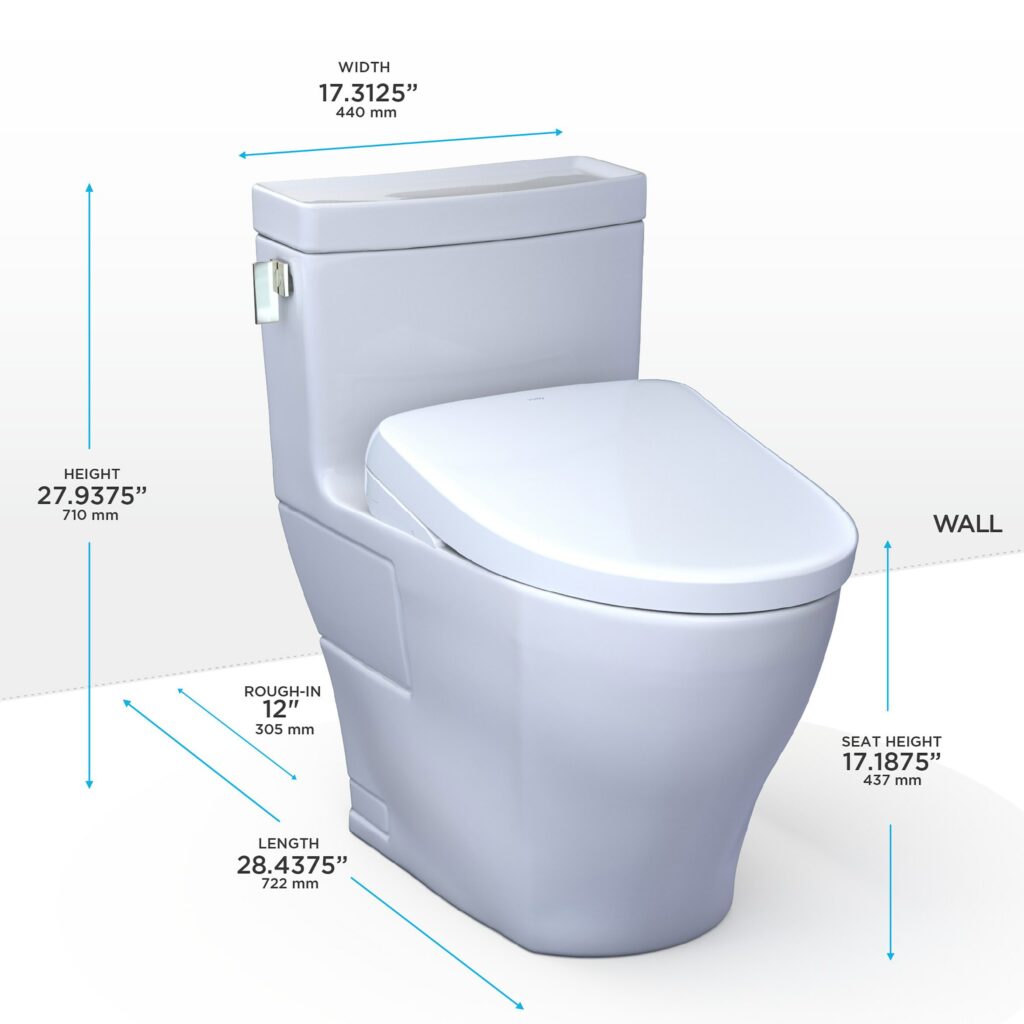
A tape measure is essential to check the rough-in size, which is the distance from the wall to the center of the drainpipe. Additionally, a set of screwdrivers, an adjustable wrench, pliers, and a drill with bits are needed for tightening bolts and securing the toilet.
Gloves are important for safety and hygiene, especially when dealing with old plumbing. Having a wax ring for the seal and some sealant for the base of the toilet is also crucial. These items ensure that the installation is watertight and secure.
Measuring and Space Preparation
After gathering tools, measure the rough-in size to ensure the new toilet will fit properly. This step involves using the tape measure to get accurate dimensions from the wall to the center of the drainpipe.
Next, clean the base area where the new toilet will be installed. Wipe away debris or old sealant using a rag and a bucket. You might need a utility knife or putty knife to remove stubborn remnants.
Then, make sure the floor around the installation area is even and smooth. If there are any irregularities, they need to be addressed before proceeding. This ensures the toilet will sit flush on the floor without wobbling. Before finalizing preparations, check for any obstacles that might hinder installation, like pipes or fixtures nearby.
Removing the Old Toilet
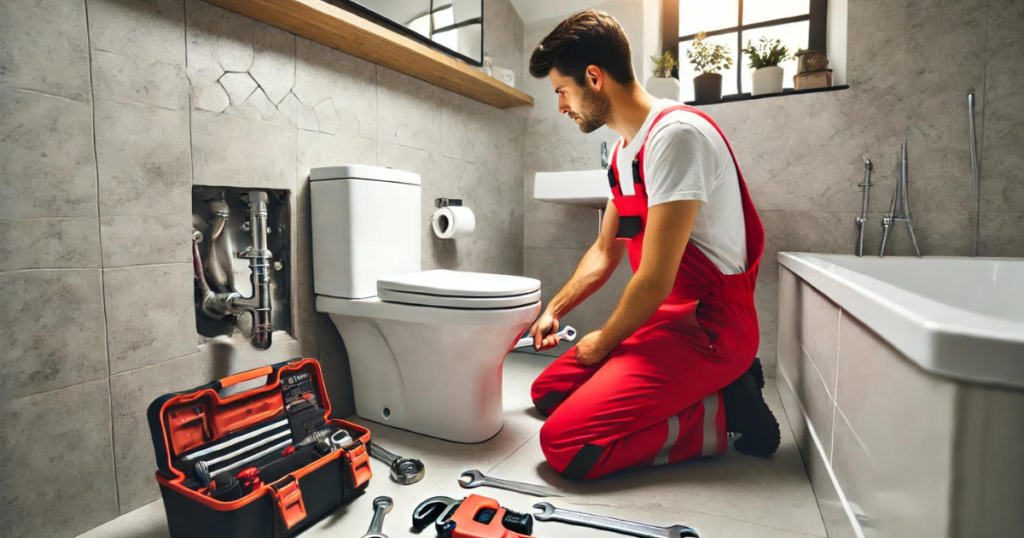
Removing an old toilet involves disconnecting the water supply and draining the toilet, then unfastening the bolts and extracting the toilet from its position. Ensuring you have the right tools and steps is crucial for a smooth and clean removal process.
Disconnecting Water and Draining
First, turn off the water supply by locating the water shut-off valve, usually found behind or near the base of the toilet. Turn the valve clockwise to stop the water flow. To ensure no water remains in the toilet, flush it, which should empty most of the water from the tank and bowl.
Next, use a bucket to catch any remaining water. Placing an old rag under the valve helps absorb any drips. Then, disconnect the water supply line using a wrench. Turning the fitting counterclockwise, carefully separate the water line from the tank. A small amount of water may spill out, so the rag and bucket are handy to keep the area dry.
Finally, use a sponge or towel to soak up any leftover water in the bowl or tank. Ensuring the toilet is completely dry prevents messes during removal.
Unfastening and Extracting the Old Toilet
Once the water is drained, focus on the floor bolts. Remove the nuts securing the toilet to the floor using a wrench or pliers. If the nuts are rusty, a penetrating oil can help loosen them. Carefully lift the bolt caps and set them aside.
With the bolts removed, gently rock the toilet back and forth to break the seal of the old wax ring. This movement makes it easier to lift the toilet. Then, lift the toilet straight up to keep it level to avoid splashes from any remaining water. Having an old rag nearby helps to wipe any drips.
After removing the toilet, place it on old newspapers or a drop cloth. This prevents any residue from dirtying the bathroom floor. Next, dispose of the old wax ring from the flange using a putty knife. Cleaning the area thoroughly before replacing the toilet ensures a better seal for the new installation.
Installing the New One-Piece Toilet
In this section, I will guide you through positioning and securing the toilet and connecting it to the plumbing system. Each step is crucial to ensure a proper installation without leaks or other issues.
Positioning and Securing the Toilet
First, place the new wax seal on the toilet flange. Make sure it sits properly to prevent leaks.
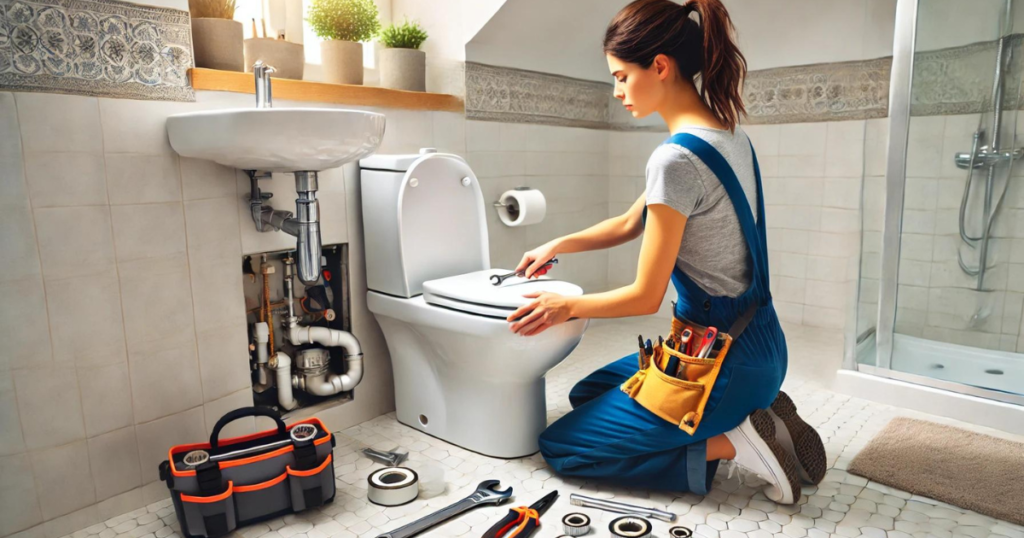
Next, carefully lift the one-piece toilet and align it with the flange. Lower it slowly until the base is in contact with the wax ring. Press down firmly to set the seal. Using a spirit level, check if the toilet is level. Adjust if needed by slightly shifting the position or using shims.
Once the toilet is in place, insert the flange bolts through the holes at the base. Place brass washers and nuts on the bolts, then tighten them slowly using a wrench. Be careful not to over-tighten, as it can crack the porcelain.
Finally, snap on the decorative caps to cover the bolts. This not only improves the appearance but also keeps the caps in place.
Connecting to the Plumbing System
Next, attach the supply line to the toilet tank’s water inlet. Use a wrench to secure it, but avoid overtightening, which can lead to leaks. A snug fit ensures a good seal.
After attaching the supply line, turn on the water supply slowly. Check for any immediate leaks around the connection points. If you notice any, slightly tighten the connections until the dripping stops.
Once water is flowing into the tank, allow it to fill up. If necessary, check inside the tank to adjust the float for a proper water level. This step ensures that the toilet flushes efficiently.
Now, test the flush mechanism a few times. Make sure it flushes properly without any unusual noises. This ensures everything is in working order and your new toilet is ready for use. You might need to review the installation steps or consult a plumber if you encounter any issues.
Final Touches and Testing
Once you have placed and secured your one-piece toilet, the next steps involve applying caulk and attaching the seat. You should then check for leaks and ensure everything works properly.
Applying Caulk and Attaching the Seat
First, apply caulk around the base of the toilet. This helps to seal the toilet to the floor, preventing water from getting underneath. Use a bead of caulk about 1/4 inch thick. Then, smooth it out with a gloved finger or a caulk tool for a clean finish.
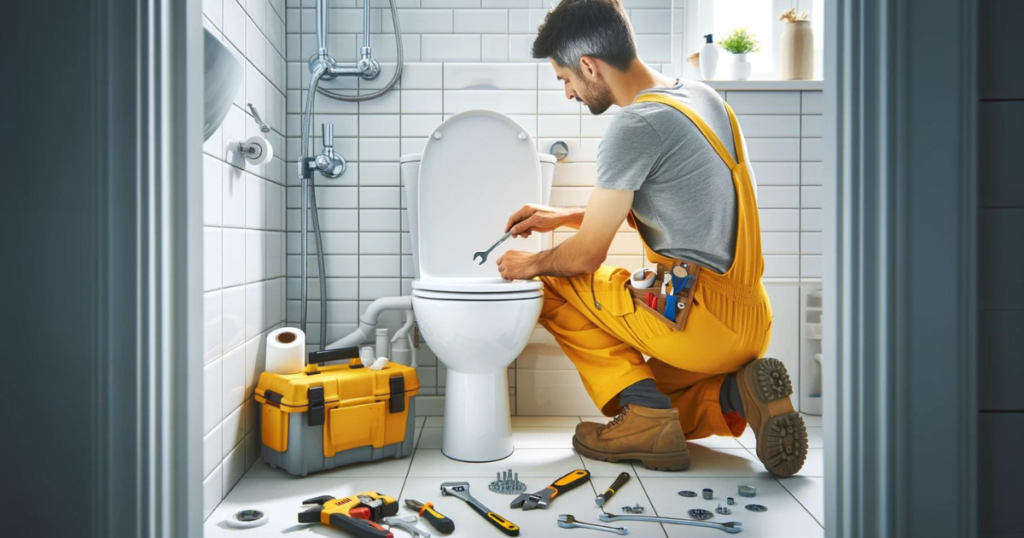
Next, attach the toilet seat. This usually involves aligning the seat with the holes in the toilet bowl and securing it with bolts. Some seats have quick-release mechanisms, so check if yours does. Use a screwdriver to tighten the bolts, making sure the seat is stable and doesn’t wobble.
Checking for Leaks and Functionality
Reconnect the flexible water supply line to the fill valve at the back of the toilet. Then turn on the water supply and let the tank fill up. Using a sponge, check the base and connection points for leaks. If you see water, tighten the connections or reapply caulk where necessary.
Finally, perform a flush test to ensure the toilet is functioning correctly. Check that the water level in the bowl is appropriate and the flush is powerful enough to clear the bowl. All this helps confirm that the installation is complete and there are no plumbing issues.
Wrapping Up
Congratulations! You’ve successfully navigated the ins and outs of Installing a One-Piece Toilet. With your new porcelain throne securely in place, you can now enjoy the fruits of your labor— a sleek, efficient bathroom upgrade you accomplished all alone.
Remember, every DIY project comes with challenges, but you’ve proven that with patience and a sense of humor, there’s no task too daunting. So go ahead, take a seat, and bask in the glory of a job well done. Happy flushing!
Frequently Asked Questions
I often get questions about installing a one-piece toilet. Here are answers to some of the most common concerns.
What tools and materials are needed for one-piece toilet installation?
To install a one-piece toilet, you will need a wax ring, toilet bolts, a wrench, and a screwdriver. A level and a tape measure are also important. Remember to turn off the water supply before starting the installation.
What should I consider when choosing between a one-piece and a two-piece toilet?
One-piece toilets have a sleeker design and are easier to clean. This is because they have no gaps between the tank and the bowl. Two-piece toilets are generally more affordable and easier to install. Consider your budget and how much maintenance you are willing to do.

