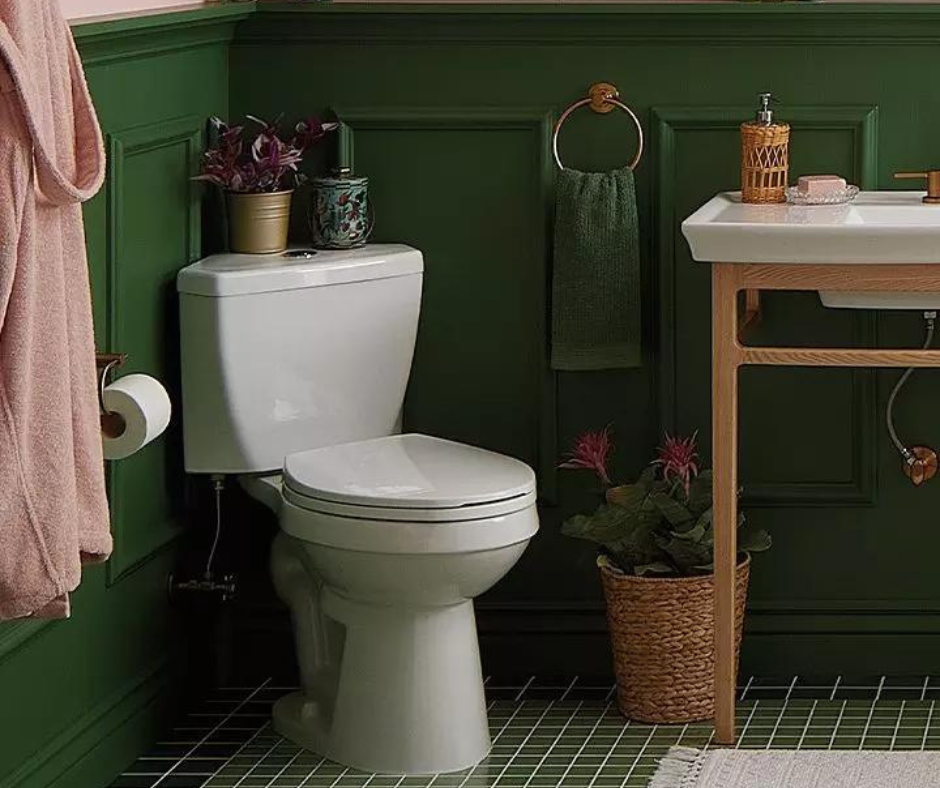
Installing a standard toilet may seem daunting, but it can be a straightforward DIY project with the right tools and guidance.
Whether replacing an old toilet or upgrading to a new one, knowing how to install a standard toilet is key to ensuring everything functions properly.
In this guide, we’ll walk you through each step, from gathering materials to making the final adjustments, so you can confidently tackle this home improvement project.
Tools To Get the Job Done
Preparation for Installation
Getting ready to install a toilet takes some careful planning. Before starting the job, I’ll review the key steps to check your floor and plumbing.
Assessing Floor Stability
I always start by looking at the floor where the toilet will go. A stable floor is crucial for a proper installation.
I check the subfloor for soft spots or damage. If I find issues, I fix them before proceeding.
I also make sure the floor is level. An uneven surface can lead to leaks or wobbling.
I use a level tool to check and add shims if needed to create a flat base.
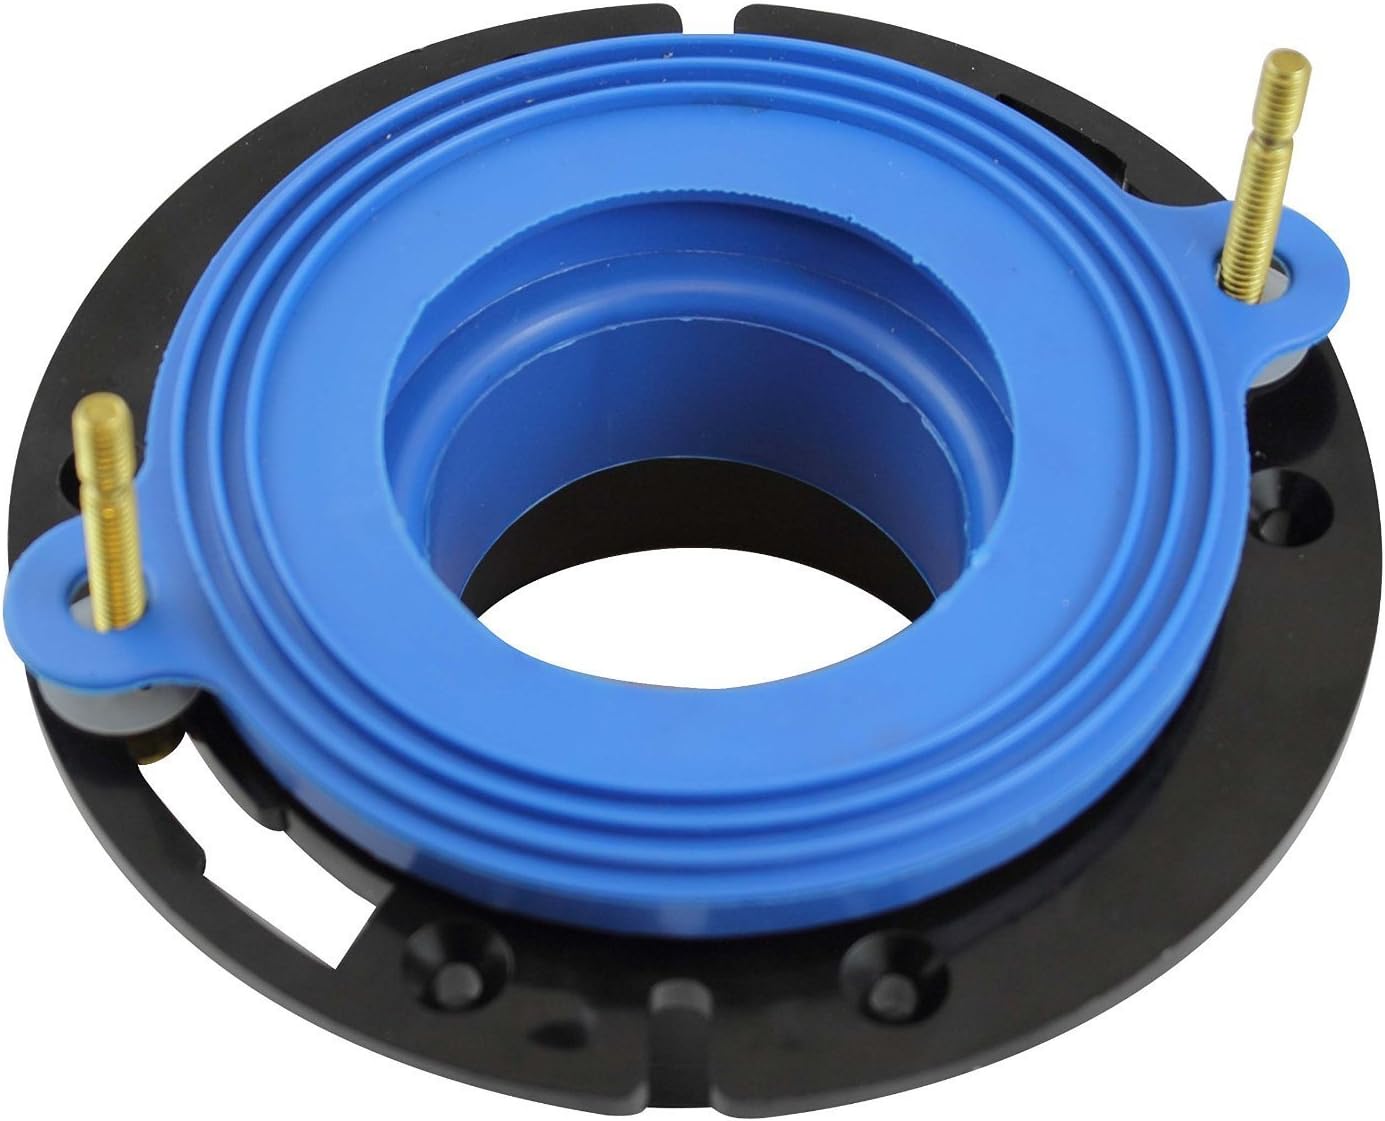
Lastly, I look at the toilet flange. This metal or plastic ring connects the toilet to the drainpipe.
I check that it’s securely attached to the floor and not damaged. If it’s loose or broken, I replace it before installing the new toilet.
Checking Plumbing Readiness
Next, I focus on the plumbing. I start by shutting off the water supply to the toilet area, which prevents leaks or spills during installation.
I remove the old toilet if there is one. This lets me inspect the drain line for any clogs or damage. I clear any blockages I find to ensure good water flow.
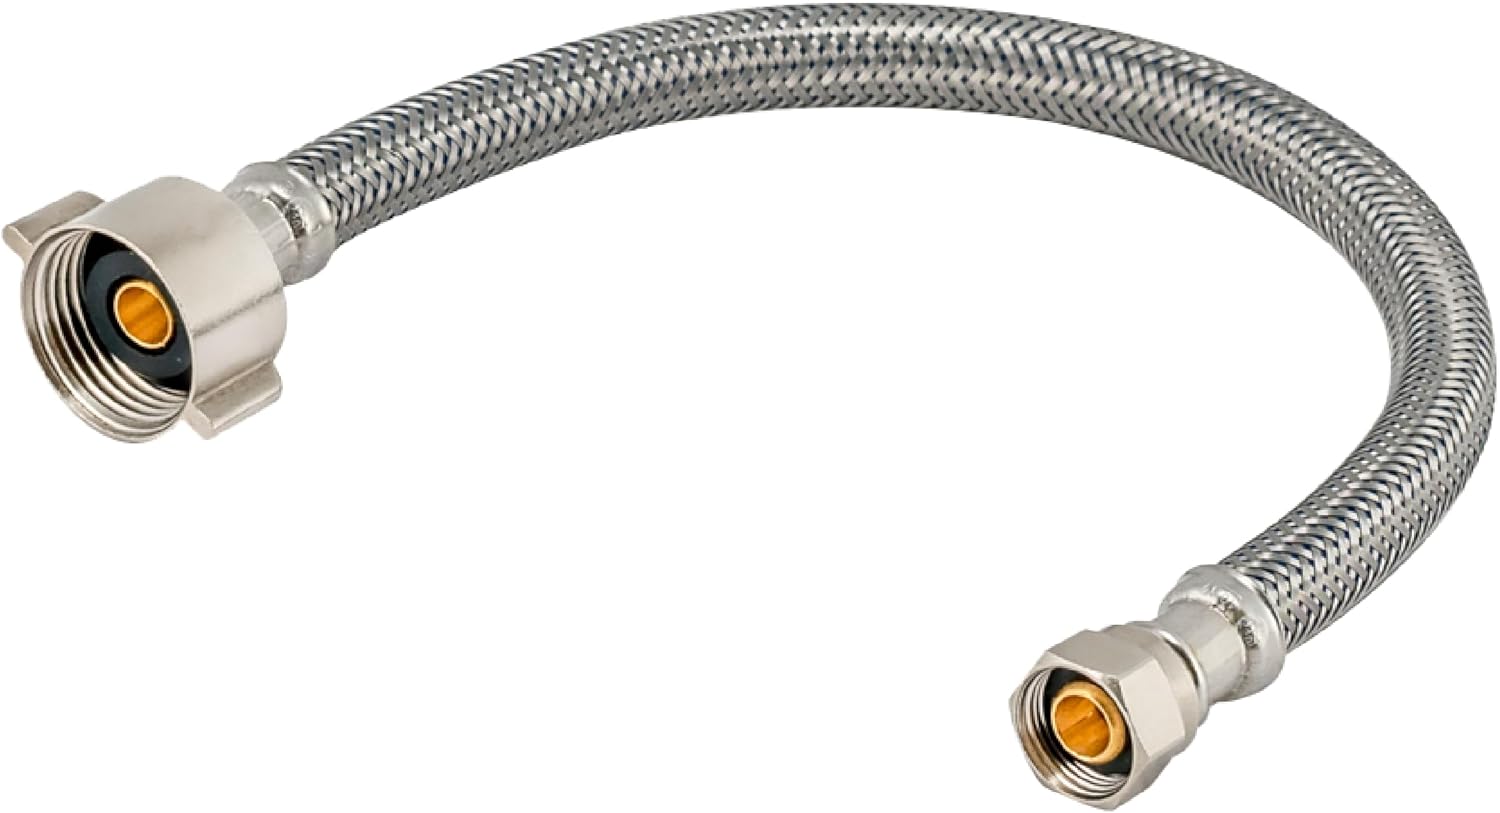
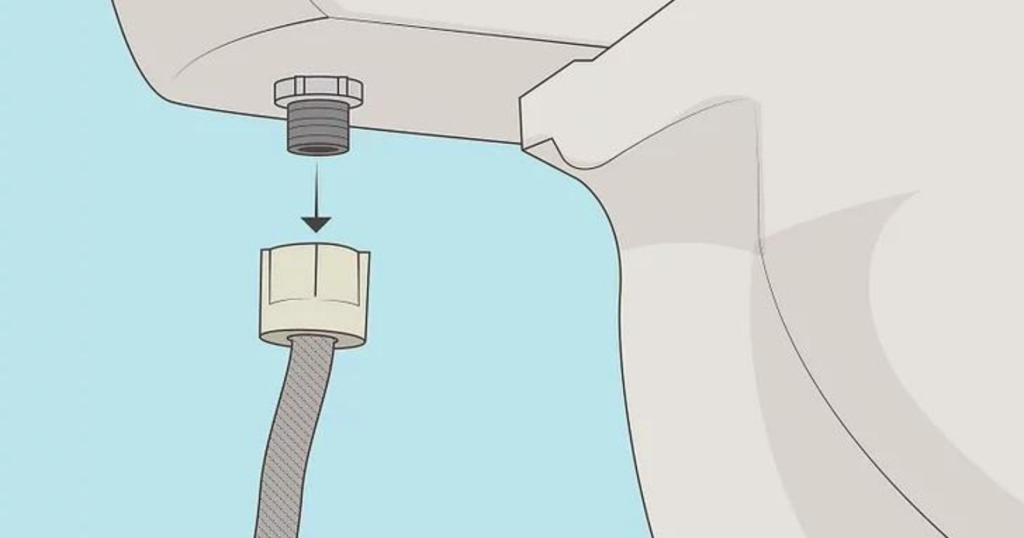
I also check the water supply line. If it’s old or worn, I replace it with a new flexible hose. This helps prevent future leaks.
Lastly, I measure the distance from the wall to the center of the toilet flange. This “rough-in” measurement tells me what size toilet will fit best in the space.
Removing the Old Toilet
The first step in installing a new toilet is removing the old one. I’ll walk you through disconnecting the water and safely removing the toilet.
Disconnecting Water Supply
I always start by shutting off the water. I locate the shut-off valve near the toilet’s base and turn it clockwise until it stops. Then I flush the toilet to empty the tank.
I use an adjustable wrench to loosen the nut connecting the supply line to the tank. Once loose, I unscrew it by hand. I keep a small bucket handy to catch any remaining water.
With the water line disconnected, I wipe up any spills with old towels. This prevents slips and keeps the work area dry.
Extracting the Existing Toilet
Now, it’s time to remove the toilet itself. I use my adjustable wrench to unscrew the nuts holding it to the floor flange at its base.
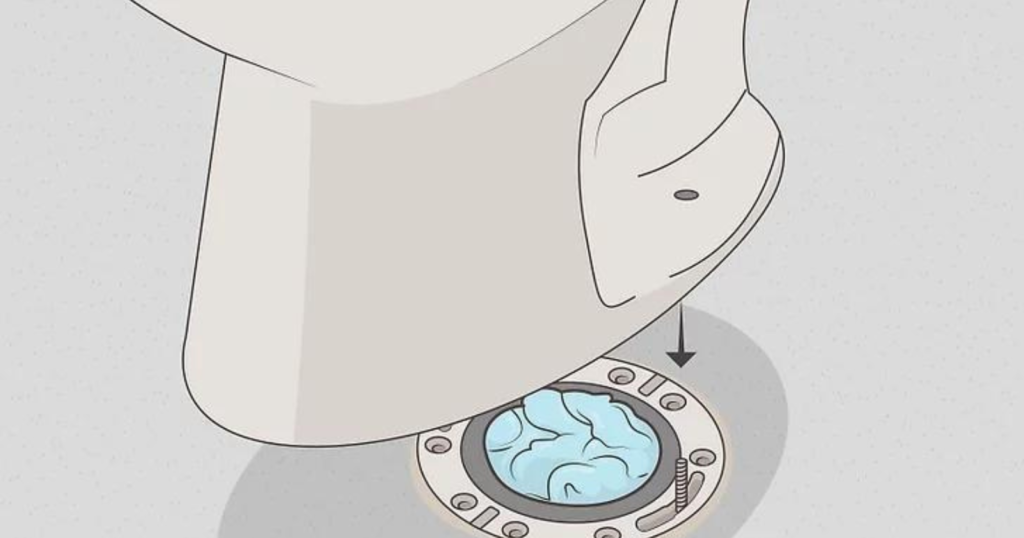
I gently rock the toilet back and forth to break the wax seal. Then, I lift it straight up and set it aside. The old wax ring usually sticks to the bottom of the toilet or the flange.
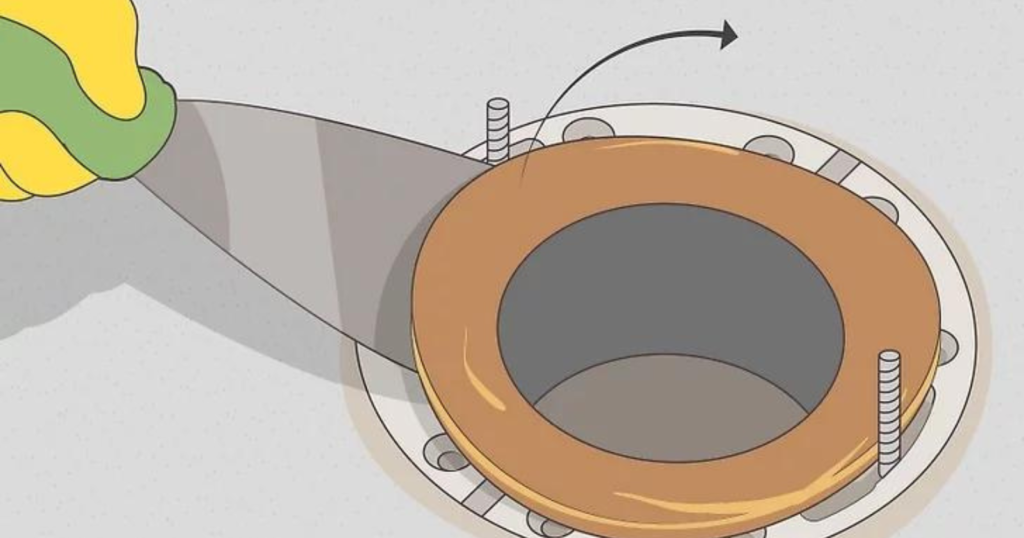
I scrape off any remaining wax from the flange with a putty knife. Then, I stuff a rag into the drain opening to block sewer gases. This step is important for safety and odor control.
Setting Up the New Toilet
I’ll show you how to prepare the toilet flange and place the wax ring. These steps are key for a proper seal and stable installation.
Preparing the Toilet Flange
I start by cleaning the flange. I use a putty knife to scrape off any old wax or debris, and then I wipe it down with a rag.
Next, I check if the flange is level with the floor. If it’s too low, I add a flange extender. This ensures a good seal.
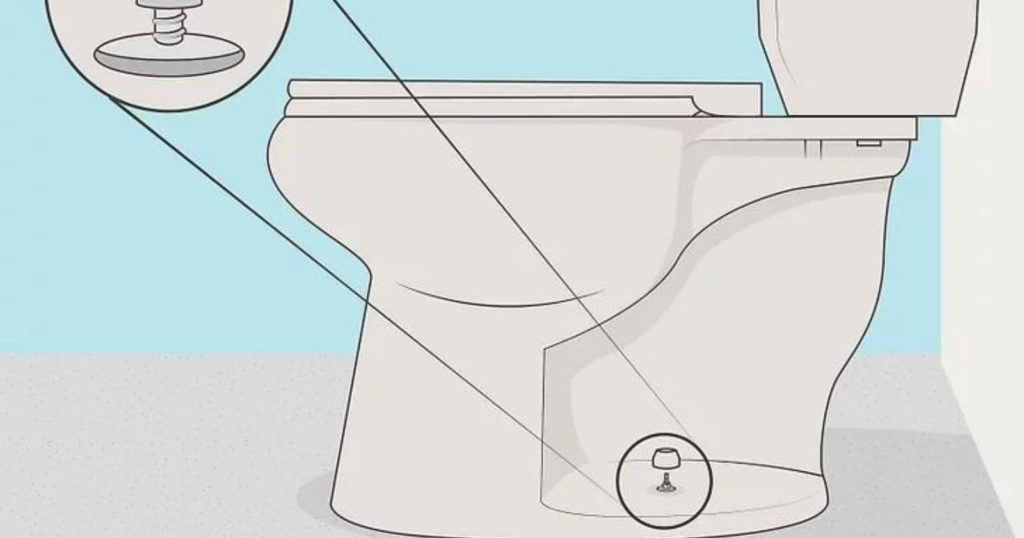
I insert the toilet bolts into the flange slots, making sure they’re secure and pointing straight up. These bolts will hold the toilet in place.
Placing the Wax Ring
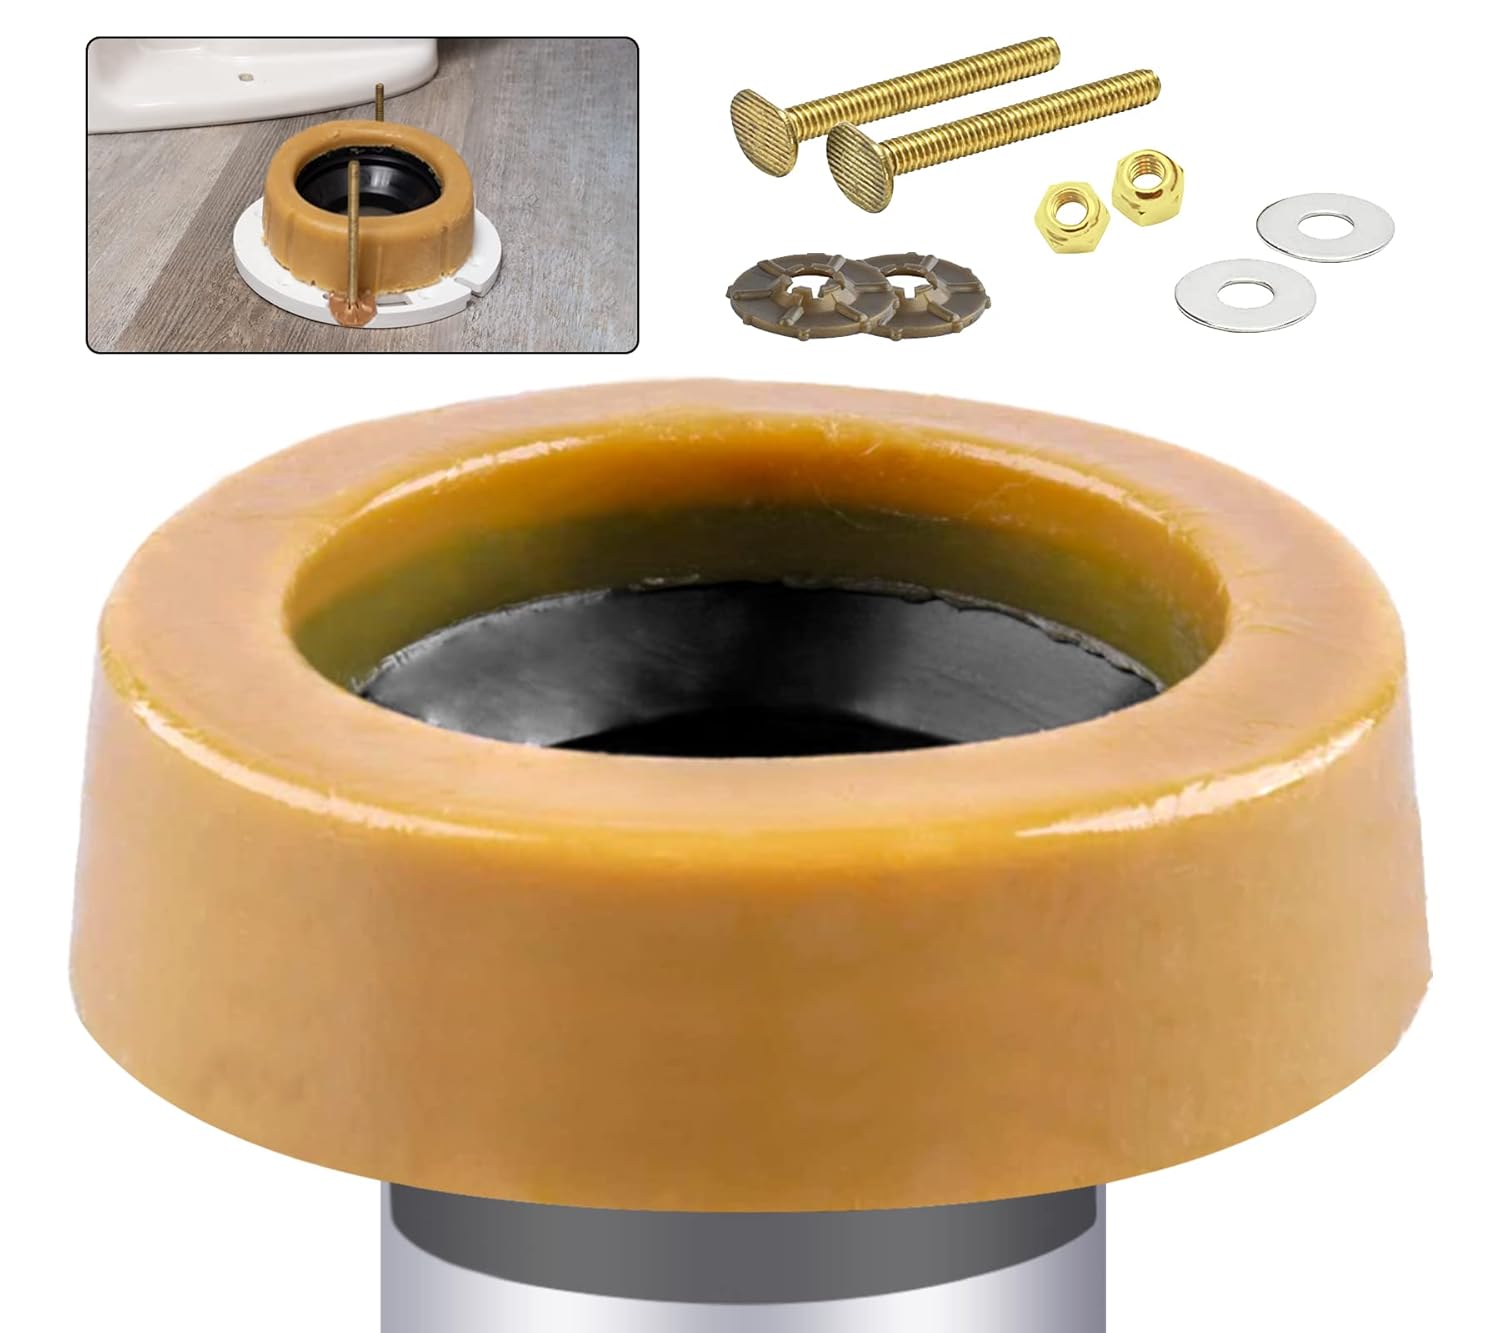
I take the wax ring out of its package. To keep it clean, I don’t touch the wax part.
I center the wax ring on the flange, with the tapered side facing up. I press it down gently to stick it in place.
Some people put the wax ring on the toilet instead. I find it easier to place it on the flange first.
I’m careful not to move the wax ring once it’s in place. This keeps the seal intact for a watertight fit.
Installing the Toilet Base
Setting the toilet base is a key step in the installation process. It requires careful alignment and secure fastening to ensure stability and prevent leaks. I’ll walk you through how to position and attach the base properly.
Aligning the Base with Bolts
I start by placing the wax ring on the flange, flat side down. This creates a watertight seal.
Next, I carefully lift the toilet bowl and position it over the flange. I line up the holes in the base with the closet bolts sticking up from the flange. It’s important to lower the toilet straight down onto the wax ring.
I gently rock the bowl side to side to compress the wax ring. This forms a tight seal.
I check that the toilet is level using a small level placed across the bowl rim. I use plastic shims under the base to level it out if needed.
Helpful Video
Securing the Base
Once aligned, I place washers over the closet bolts and hand-tighten the nuts. I’m careful not to over-tighten, as this can crack the porcelain.
I use a wrench to give each nut an additional quarter turn.
I cut off any excess bolt length above the nuts with a hacksaw. Then I snap on the decorative caps to cover the bolts.
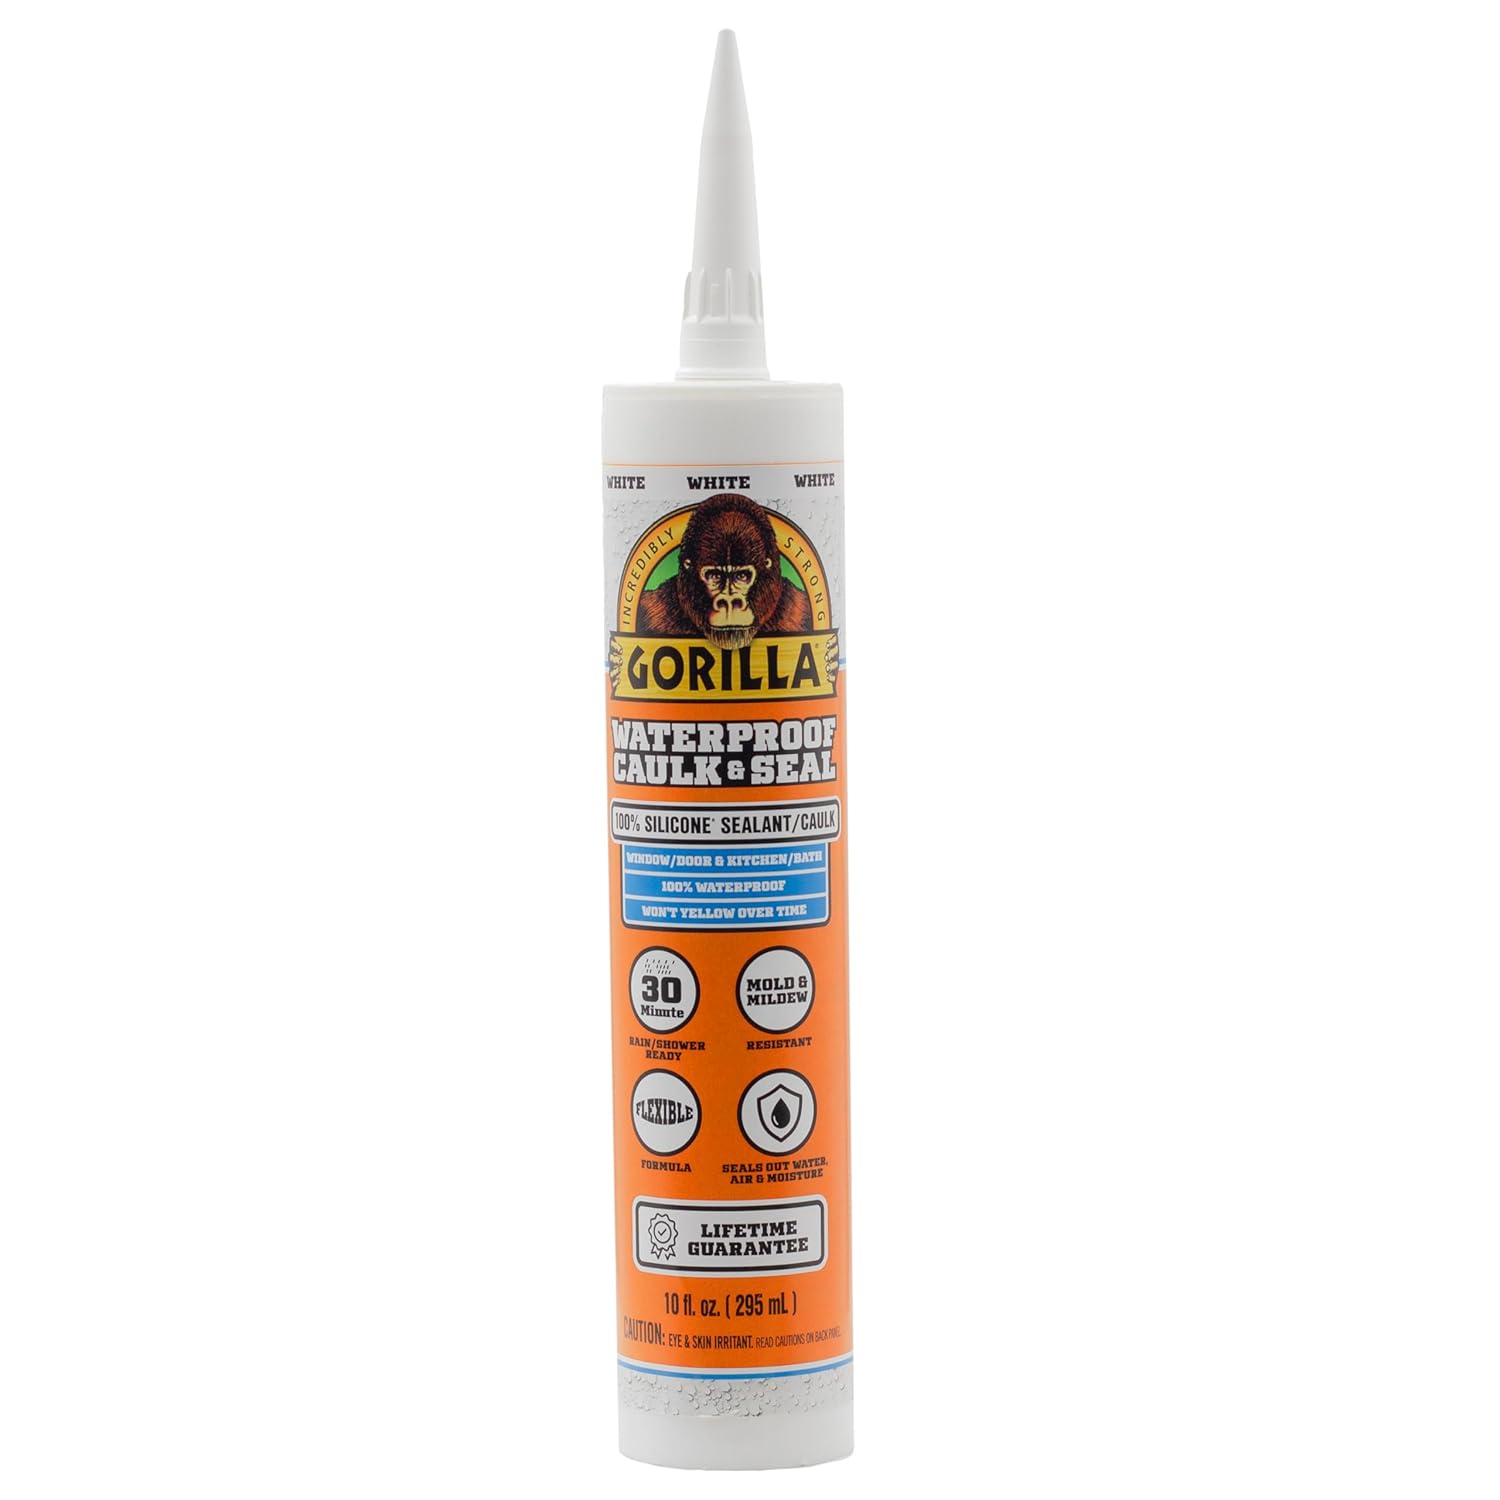
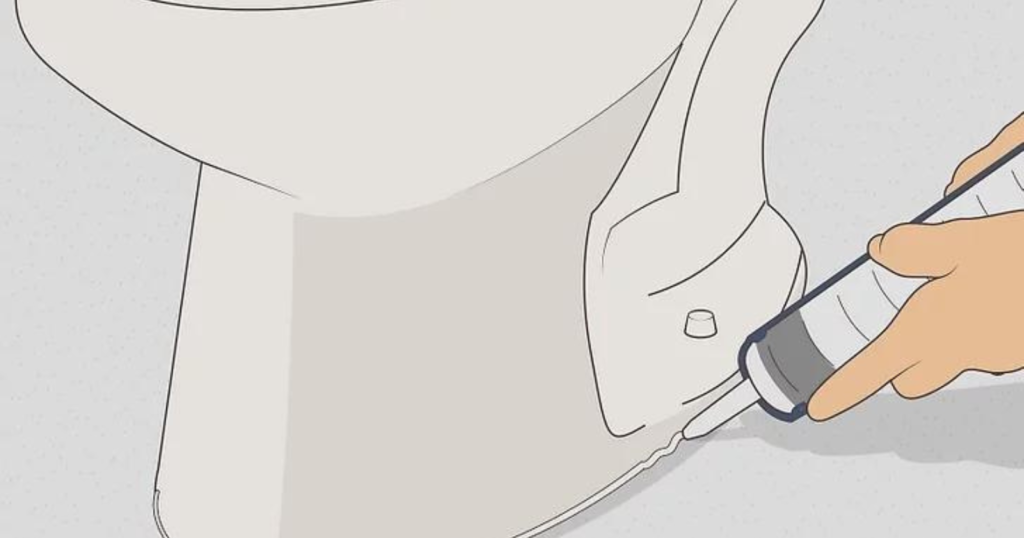
Finally, I apply a bead of caulk around the base of the toilet where it meets the floor. This helps prevent water from seeping underneath.
I leave a small gap uncaulked at the back of the toilet. This allows me to spot any leaks that might develop later on.
Attaching and Sealing the Tank
I’ll guide you through attaching the tank to your toilet bowl and sealing it properly. This process involves positioning the tank correctly and applying silicone caulk for a watertight seal.
Positioning the Tank
I start by placing the tank on the back of the toilet bowl, ensuring the holes in the tank line up with the holes in the bowl.
Then, I inserted the tank bolts through the holes from inside the tank and put rubber washers on them to create a good seal.
Next, I carefully lower the tank onto the bowl and secure it with metal washers and nuts.
I first tightened the nuts by hand and then used a wrench to give them a final tightening. I’m careful not to overtighten, as this could crack the porcelain.
Applying Silicone Caulk
After the tank is in place, I apply silicone caulk to seal it.
I use a caulk gun to apply a thin bead of silicone around the tank’s base where it meets the bowl. I make sure the bead is even and covers the entire seam.
Then I smooth the caulk with my finger, wiping away any excess. This creates a watertight seal and stops leaks.
I let the caulk dry for 24 hours before using the toilet. This gives it time to set properly and form a strong bond.
Finalizing Installation and Testing
Connecting the water supply and testing for leaks are crucial final steps. These ensure your new toilet works properly and doesn’t cause water damage.
Connecting the Water Supply Line
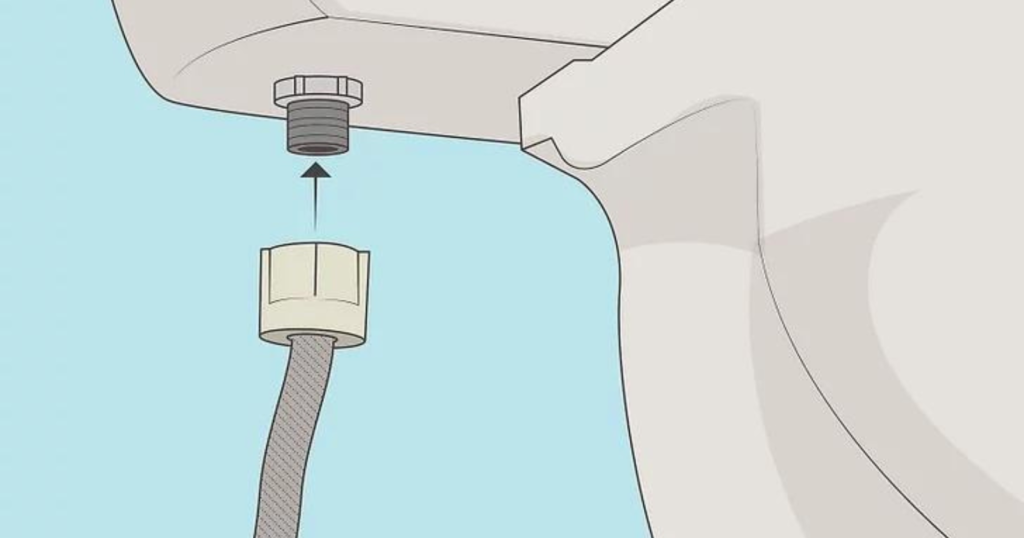
I start by attaching the water supply line to the fill valve on the toilet tank. I use an adjustable wrench to tighten the connection, but I’m careful not to over-tighten it.
Next, I connect the other end of the supply line to the shut-off valve on the wall.
Before turning on the water, I double-check all connections are secure.
I slowly open the shut-off valve, allowing water to flow into the tank. As it fills, I watch for any leaks around the connections.
Testing for Leaks
I flush the toilet once the tank is full to test its operation.
I look closely at the toilet’s base and around all connections for any signs of water. If I spot a leak, I turn off the water and tighten the problem area.
I repeat this process a few times to be sure. If leaks persist, I may need to remove the toilet and check the wax ring seal.
For stubborn issues, calling a professional plumber is often the best choice.
Wrapping Up
Knowing how to install a standard toilet saves you time and money and empowers you as a homeowner.
By following the steps outlined in this guide, you can ensure a successful installation that enhances the functionality of your bathroom.
Remember to take your time, double-check your work, and ask for help if needed. With patience and the right approach, your new toilet will be up and running quickly!
Frequently Asked Questions
Installing a new toilet involves costs that can vary based on several factors. Let’s look at a common question about the expense of professional installation.
How much does it typically cost to hire a plumber to install a new toilet?
Plumbers usually charge between $200 and $500 to install a standard toilet. This price often includes removing the old toilet and setting up the new one.
The total cost can change depending on the toilet type and any extra work needed. Fancy toilets or tricky installations might cost more.

